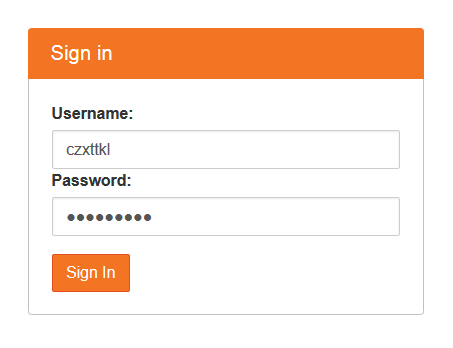
JupyterHub is an Ipython notebook extension which supports multi-user logins. (https://github.com/jupyter/jupyterhub). Installation of JupyterHub, however, requires a bit work due to their incomplete docs and complicated dependencies.
Here are the steps I went through to run JupyterHub on my Ubuntu machine:
1. Set alias. JupyerHub will use Python 3.x instead of Python 2.7. But Ubuntu makes Python2.7 as default. (When you type `python`, it calls Python 2.7 and when you type `python3` it calls python 3.x) So the best way to make `python` command equivalent to `python3` is to set alias in your user scope `.bashrc` file or systemwide `/etc/bash.bashrc` file.
alias python=python3

alias pip=pip3
Make sure the change takes effect after you set alias.
2. Go through the installation instruction on JupyterHub’s main page:
https://github.com/jupyter/jupyterhub
3. start JupyterHub under a root user. And login JupyterHub locally or remotely. Now you may be able to login using your ubuntu credentials.
4. There might be some ImportErrors in the JupyerHub output, such as `importerror ipython.html requirs pyzmq >=13` and `No module named jsonschema`. You can use `sudo pip install pyzmq` and `sudo pip install jsonschema` respectively to install the dependencies. Of course, here `pip` is aliased from `pip3`.
5. If you want to start JupyterHub every time your machine boots, you need to write scripts in `/etc/rc.local`:
#!/bin/sh -e
#
# rc.local
#
# This script is executed at the end of each multiuser runlevel.
# Make sure that the script will "exit 0" on success or any other
# value on error.
#
# In order to enable or disable this script just change the execution
# bits.
#
# By default this script does nothing.

export PATH="$PATH:/usr/local/bin:/usr/lib/python3.4:/usr/lib/python3.4/plat-x86_64-linux-gnu:/usr/lib/python3.4/lib-dynload:/usr/local/lib/python3.4/dist-packages:/usr/lib/python3/dist-packages"

/usr/local/bin/jupyterhub --port 8788 >> /var/log/rc.local.log 2>&1

exit 0
After such modification, JupyterHub will start automatically next time when your machine boots up.
Update on 2017.3.23
So the installation procedure might have changed a little bit. Let me rewrite the installation steps on Ubuntu:
- make sure you have a well compiled Python 3.x. I am using Python 3.6, downloaded from: https://www.python.org/downloads/
sudo apt-get install libsqlite3-dev
cd Python3.6
./configure --enable-loadable-sqlite-extensions && make && sudo make install
ref: http://stackoverflow.com/questions/1210664/no-module-named-sqlite3
Without `./configure —enable–loadable–sqlite–extensions` you may encounter “ImportError: No Module Named ‘pysqlite2′”
2. install Jupyterhub
sudo apt-get install npm nodejs-legacy
npm install -g configurable-http-proxy
pip3 install jupyterhub
pip3 install --upgrade notebook
ref: https://github.com/jupyterhub/jupyterhub
3. somehow you need to change permission of a folder:
chown czxttkl:czxttkl -R ~/.local/share/jupyter
where ‘czxttkl:czxttk’ is my own user and group.
ref: https://github.com/ipython/ipython/issues/8997
Without this you may get “PermissionError: [Errno 13] Permission denied: ~/.local/share/jupyter/runtime”
4. run it
sudo jupyterhub
